How to Bind a Printable Planner
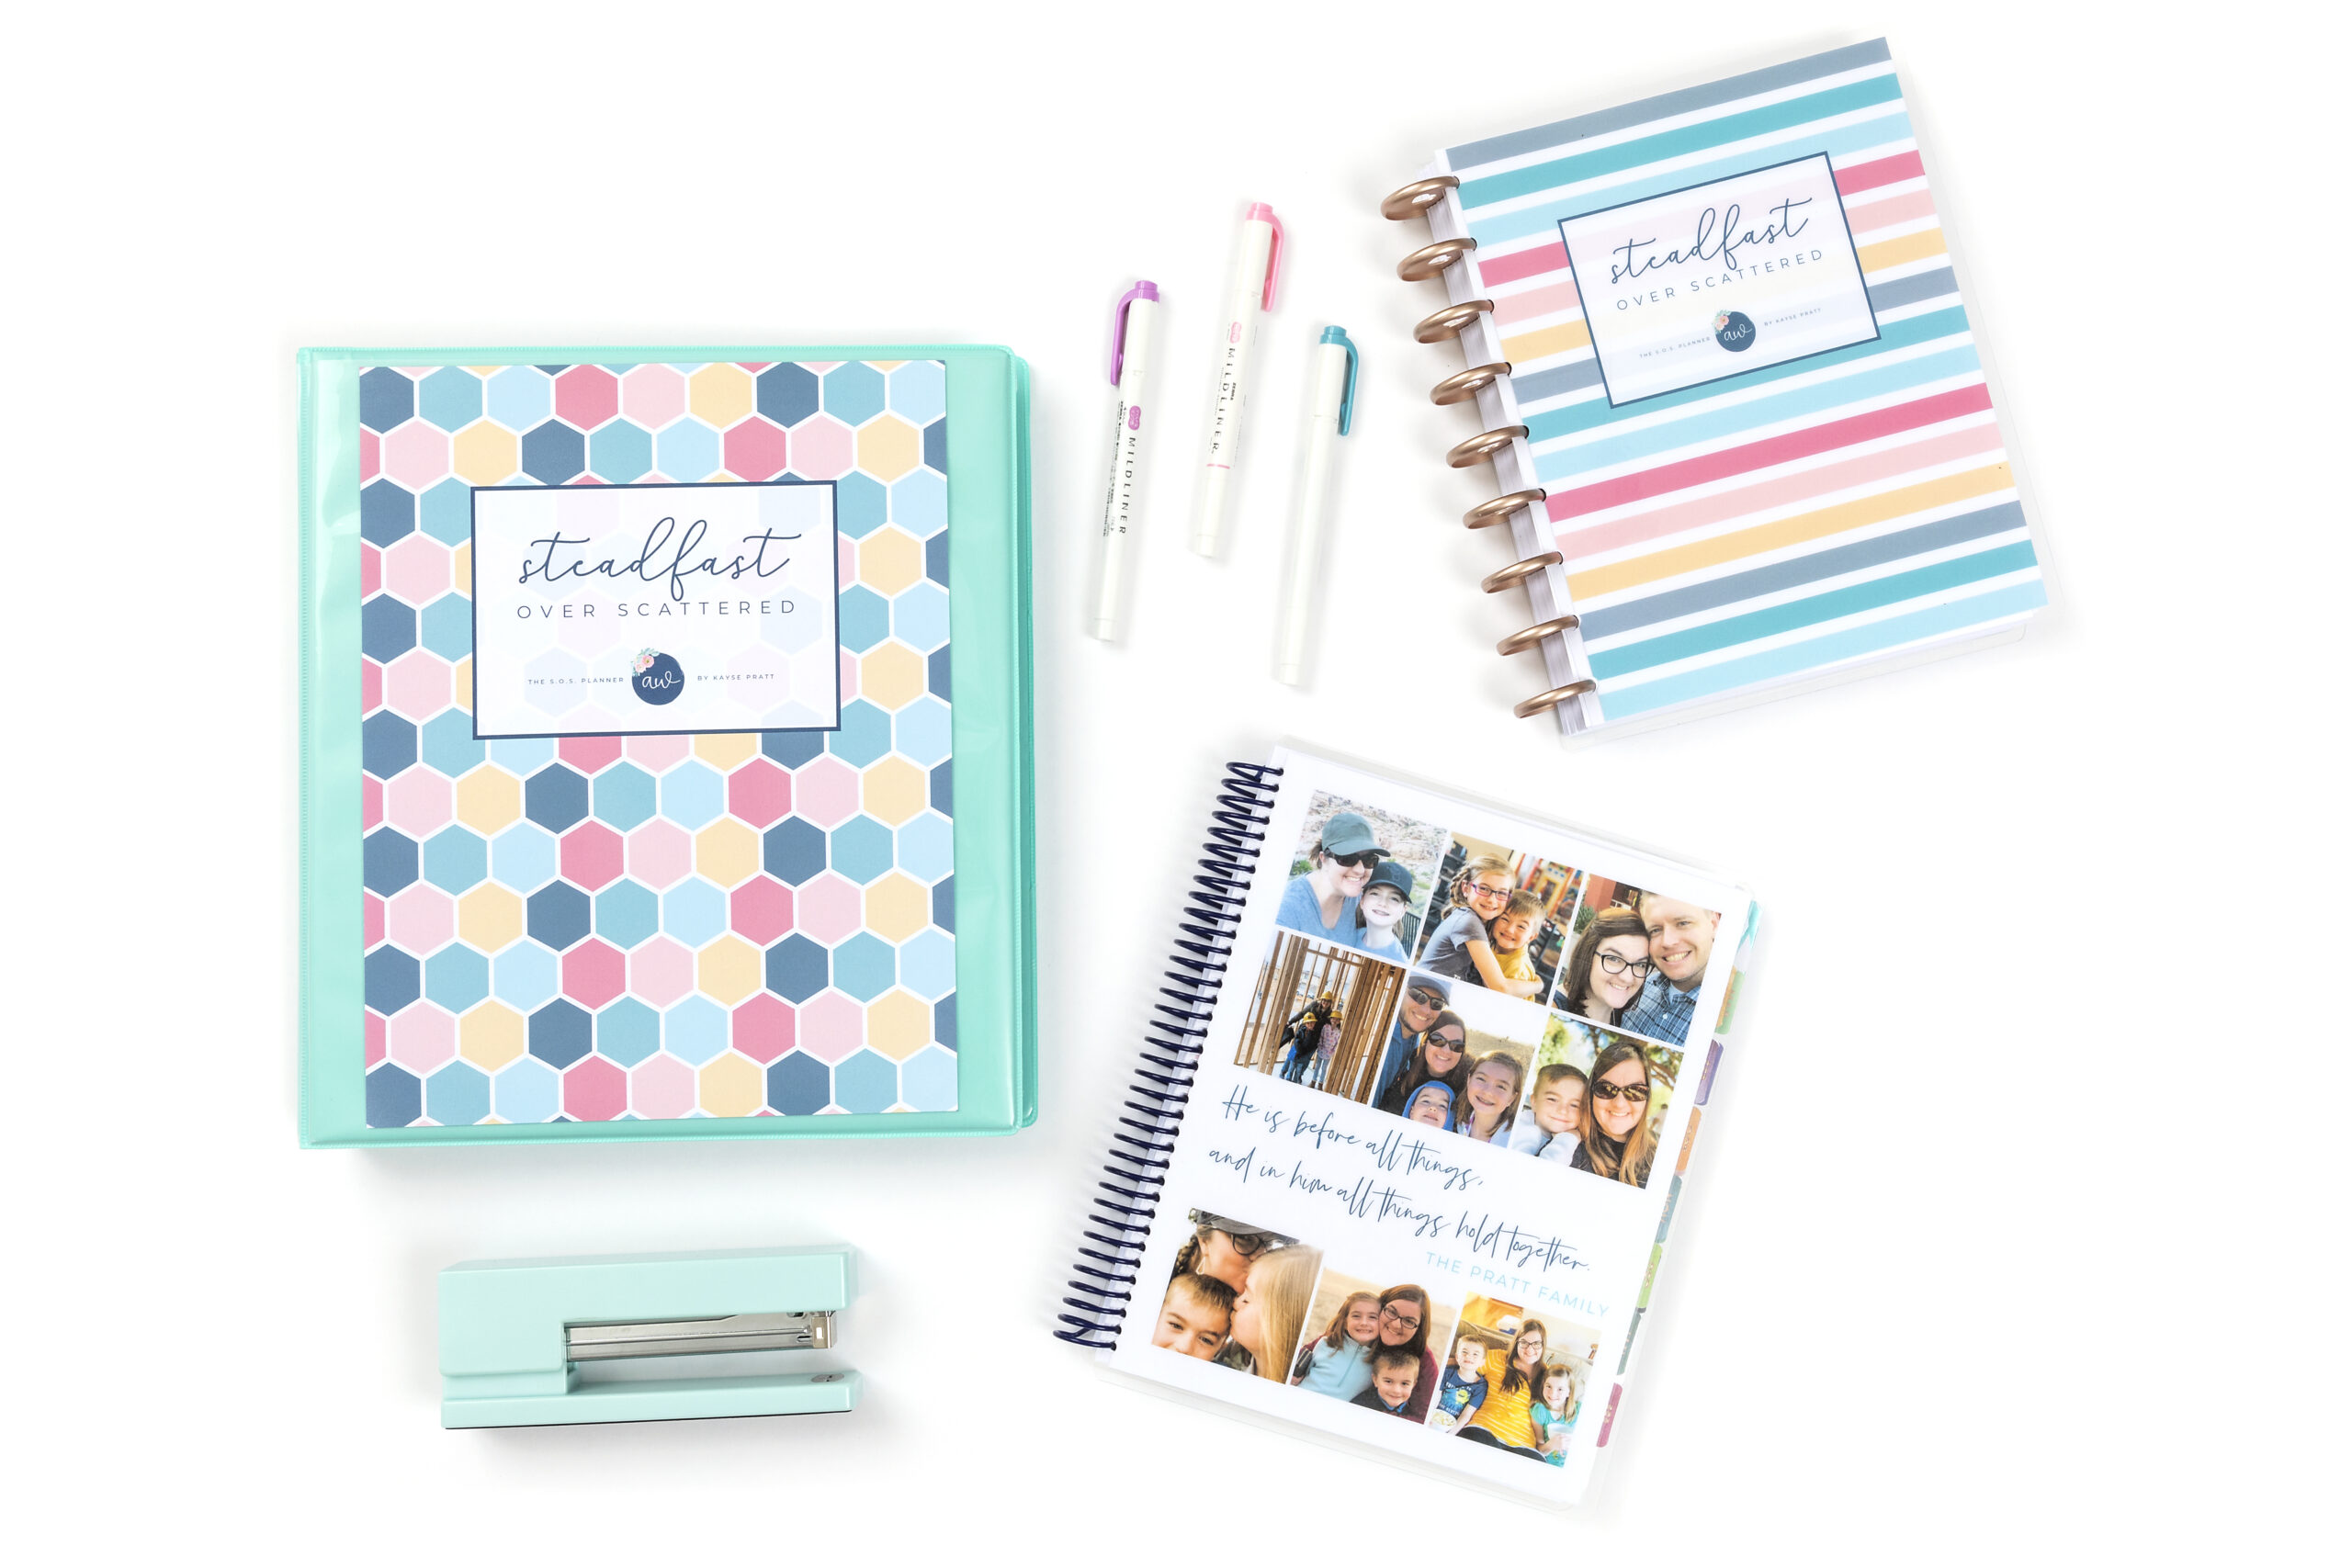
One of the best parts of a printable planner is that you get to decide what kind of binding you like best! Choose a simple 3-ring binder, fall in love with the disc-binding system, or opt for a spiral bound book.
Each binding style has its own benefits, and each one is super simple to do! Take a look below.
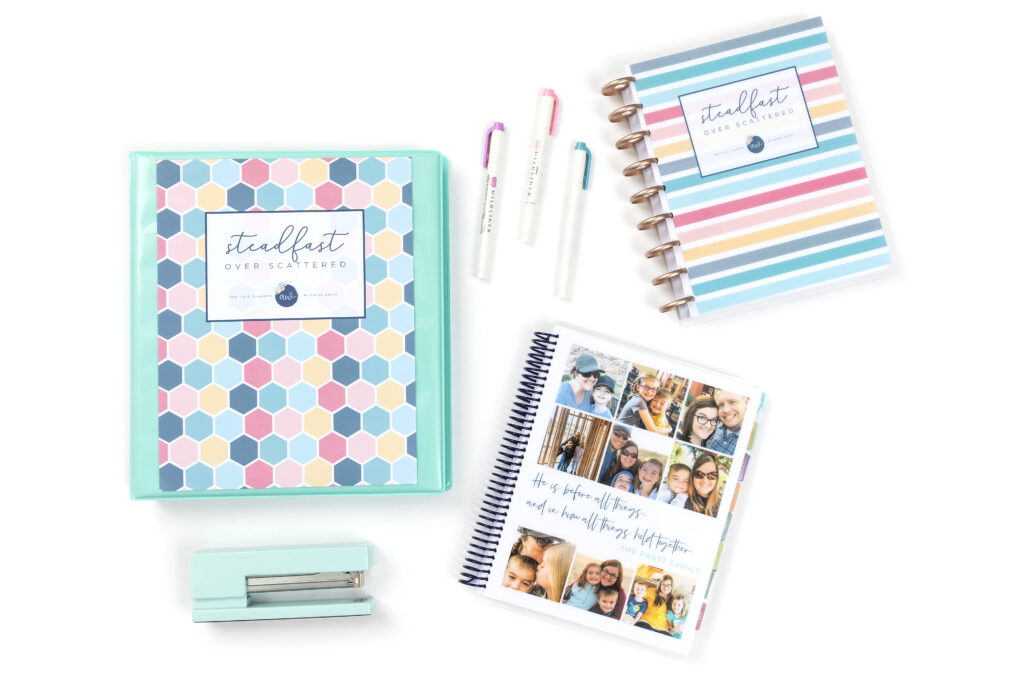
OPTION 1: Disc-bound Planner Assembly
This is a favorite among our customers! Disc-binding is a perfect blend of the things you want in a planner – allowing you the flexibilityof switching pages in and out whenever you’d like, all while keeping the feel of a spiral bound planner.
Punch, slide into place, and you’re good to go!
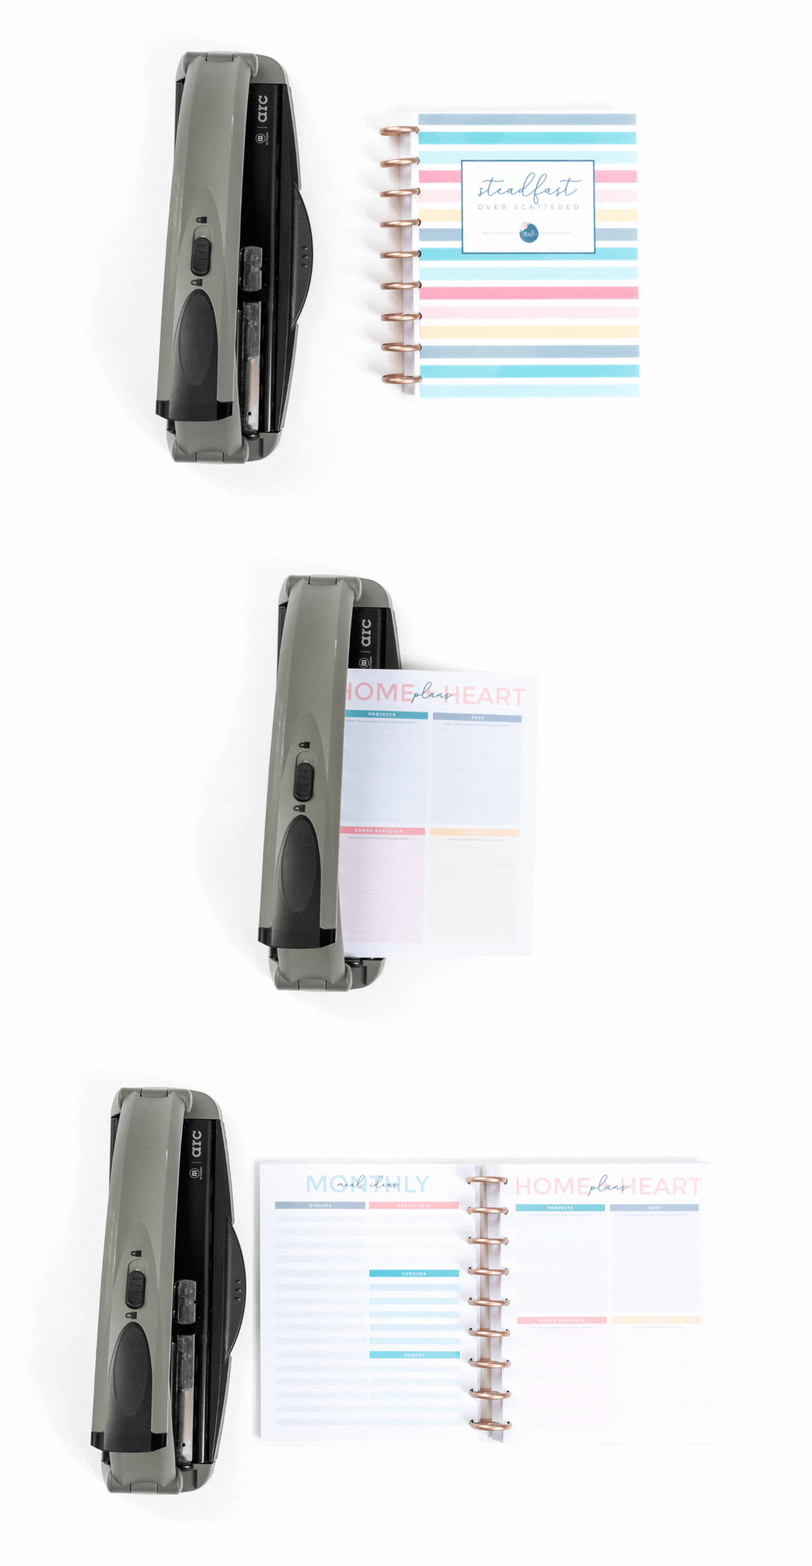
Supplies you need:
- A Disc-Bound Punch
- A Set of Discs – 9 for mid-size, 11 for full-size
- A Cover – We provide a bunch of printable cover options in our S.O.S. Planners, which you can laminate and use. Or you can purchase a hard-bound cover
- Dividers – You can purchase these (I love the ones from Inkwell Press), or make your own with cardstock and a laminator!
Pro tip: I love purchasing a pre-made Happy Planner for around $10-12 with a cover I really like, and then using the cover, discs, and dividers from that – while filling in the pages with my S.O.S. Planner pages. It’s a great, cheap way to get started with the disc-binding system!
OPTION 2: 3-Ring Binder Assembly
This is the simplest, and most cost efficient way to bind your planner – because you probably already have all of the supplies!
Hole punch each page, slip it into your binder, and throw in some cute dividers! (Get a mini-binder and print half-size for a smaller version of the planner!)
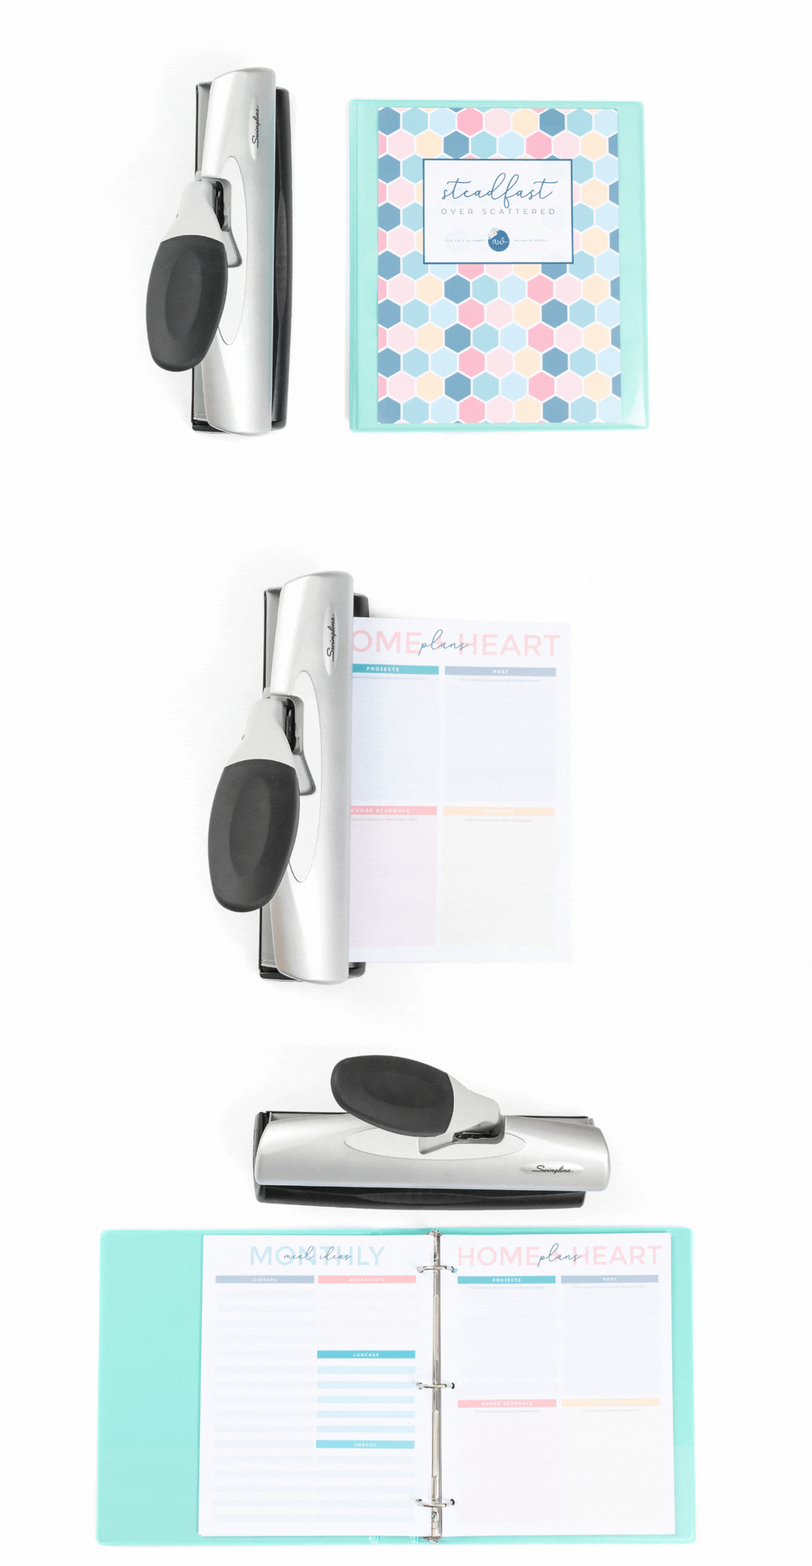
Supplies you need:
Pro tip: Print our covers full-size to slide into a window on your 3-ring binder, or grab a cute binder with a fun pattern on it! You can also easily use the “back” side of our covers to create your own color-coordinated dividers!
Option 3: Spiral Bound
Take your printed planner to a local office supply store, and they will bind it with a spiral coil for around $4! Be sure to ask them to laminate your cover in 10mil lamination sheets – these are really sturdy and will hold up well!

Or, you can be a total planner nerd like me, and buy your own at-home binding machine. (Homeschool moms, this would actually be a fantastic addition to your homeschool supplies!)
Binding Supplies:
- Binding machine (This is expensive if you don’t make planners or bind workbooks regularly! It’s MUCH cheaper to just take your planner to the office supply store – keep that in mind!)
- Coils (These come in HUGE packs, so just be warned! I have enough to last for the rest of my life.)
Pro tip: If you’re going to go all-in, why not get a heavy duty laminator, too? 🤣 This one is my favorite, because it will laminate 10mil sheets. FANtastic!
Whichever binding option you choose, the fact of the matter is that it’s truly VERY easy to bind your planner at home!
Which one is my favorite? I’m a big fan of disc-binding, because it allows me the flexibility to switch up my planner layouts easily (not possible with spiral coils), but still keeps the feel of a spiral=bound planner! It’s the perfect combo for me!
How do you prefer to bind your planner? Share in the comments below!
Kayse Pratt serves Christian women as a writer + designer, creating home + life management resources that help those women plan their days around what matters most. She’s created the most unique planner on the market, helped over 400 women create custom home management plans, and works with hundreds of women each month inside her membership, teaching them how to plan their days around what matters most. When she’s not designing printables or writing essays, you’ll find Kayse homeschooling her kids, reading a cheesy novel with a giant cup of tea in hand, or watching an old show from the 90’s with her husband, who is her very best friend.

For the disc binder, would the we r memory keeper disc power punch work for your sos planner? And then use the happy planner accessories?
I got an old happy planner and was wanting to print the sos planner to fit into so looking into disc binders and I like that the we r memory keeper disc punch can punch more then just paper.
Yes, I think that could work well, too!